1. Scanning, scanning, scanning
You’ll have to turn your printed picture into a digital file first. This allows the image to be scanned and saved as a .jpg format. Be sure to include all parts of the picture (even if they’re torn) when you scan your file. In the process of reconstruction, this will benefit us. Do not attempt to puzzle the picture back together to make sure that all the pieces are separated. For you, we’ll do that! Make sure to scan the image at the highest possible resolution if you have your own scanner. You can contact us if you don’t have access to a scanner for instructions on how to get us the photo.
2. Magic of Restoration
We will begin to work our magic once you have your scanned file! Picture restoration is a hybrid use of creative imagination and technology. The lower left part of the frame was incomplete in this picture and had to be produced from scratch. The bruises, spots and tears that were stripped from the rest of the picture were also quite a few. The customer also asked for the picture to be returned to a black and white color. The restored picture, as you can see, is very impressive!
3. Printing, Printing, Printing
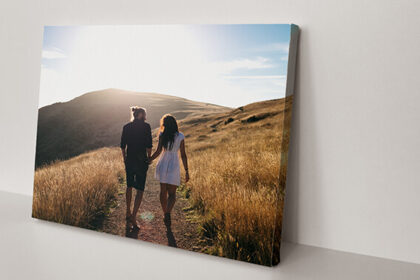
There is an infinite chance of applications after the image is restored. In this scenario, our client wanted the restored community picture as well as individual portraits of their ancestors to give to his family. We were able to make 8′′ x 10′′ canvas prints of each family member as well as 11′′ x 14′′ community prints.
We do our best to make the process of restoring photos both simple and satisfying for you, as you can see. Please contact us if you have a renovation project in mind and one of our professional designers will be more than pleased to help you out. On our platform, we also offer a simple Build A Canvas editing tool that guides you through the print ordering.
